
Hello friends!
I’ve decided that it was about time for me to post some sourdough bread recipe and spread the sourdough fever!
Before I start I’d like to make something clear:
There isn’t just one single method to make sourdough. Any bread, really. But especially sourdough. My method works for me because I’ve adapted it to my kitchen conditions, my flour, and our taste buds.
If you’re new to sourdough baking take this recipe as a guide and experiment with what you like
Since sourdough is the result of wild yeasts and bacteria fermentation, it’s unique for each person. Each starter is different because the flours used are different, the water quality is different, the temperature in each person’s kitchen is different…
Sourdough for beginners: what I wished someone told me when I first started
My very first sourdough bread was… pretty messy! I was intimidated and I thought that not following the recipe by the minute was going to turn my bread into something awful “OMG! It has fermented 5h and 1 minute!” So here are some of the things that I learned along the way:
1. Don’t worry! You can adapt the fermentation time to your own schedule. Sometimes deciding what you’re going to do with the bread is more difficult than actually making the bread. The more you bake, the more you learn.
2. Experiment, try different things. Shorter bulk fermentation, longer cold-proof… whatever works for you!
3. Flour flour flour! Flour your banneton, flour your dough and flour everything so the dough doesn’t stick to the banneton or the cloth. Too much flour ain’t never enough flour! After all the work you don’t want the dough to stick to the banneton or the cloth right before baking. Some people like to use rice flour or starch because they absorb more water and the dough never sticks. I found that all-purpose flour works great, as long as you use enough.
4. If anything, it’s better to under-ferment than over-ferment. Why? Scientifically speaking, the gluten network of over fermented dough loses strength and it’ll be difficult to shape, it won’t hold the shape during baking, and it’ll have a terrible oven spring because the lack of strength means less ability to hold gas inside (it’s the same concept as to over-knead the dough). Also, and this is my opinion, some people might disagree, but it’s been helpful for me: slightly under fermented dough has more chances to turn into a great bread than over fermented dough. The crumb might not have super large holes, or maybe you don’t have that tart taste you’re looking for, but the dough will hold the shape better, the oven spring will be better, and overall the bread will be better than an over-proofed one.
5. Make sure the gluten is developed. Either if you knead the dough by hand, on a stand mixer or if you do a “no-knead” bread. The dough has to be elastic and smooth, it shouldn’t be sticking everywhere. If you are kneading, there shouldn’t be dough on the walls of the stand mixer bowl, or on the counter. The dough has to be strong enough to be able to pull itself together without breaking. If you’re making “no-knead” bread, you should be able to stretch the dough without it tearing apart.
6. Shape the loaf well, don’t be afraid. During shaping, you’re going to use that strong gluten network that you’ve built to be able to create surface tension. That means that you’re going to stretch the outer layer of gluten in a way that will help keep the shape tight and in place, but if you push too much, the layer will eventually tear apart, and the bread won’t hold the shape. I like to think about it as covering a bowl with plastic wrap, you need the wrap tight in order to be in place, but if you pull too much, you will tear it.
7. Don’t get overwhelmed by information. The Internet is packed with sourdough recipes, methods, how to build a starter… My advice? Pick one method to build your starter and stick to it until you’re comfortable enough. Each method will be different and will be adapted to each baker. That’s why they’re all so different and why I don’t want to add more information about it, there’s just too much out there. If you really want to know how I built my starter, how I care for it etc. feel free to contact me and I’ll be more than happy to help!
8. BE PATIENT. Bread making is all about patience. If your first bread doesn’t turn out great, don’t worry! Keep trying. Write down what works, and what doesn’t. And if you want to experiment, change only 1 or 2 things at a time so it’ll be easier for you to narrow down what went wrong, what worked, what’s creating problems…
Let’s get to the recipe!
Gorgonzola cheese has a very intense flavor, it should be consumed in small amounts, so your palate is not overwhelmed and you get to enjoy all the aromas and flavors.
Apple is a sweet fruit but not too sweet that would take over the cheese taste. Actually, it helps your taste buds to balance everything every flavor.
And the bread, of course… the sourdough taste, the airy crumb, the slightly crunchy crust…
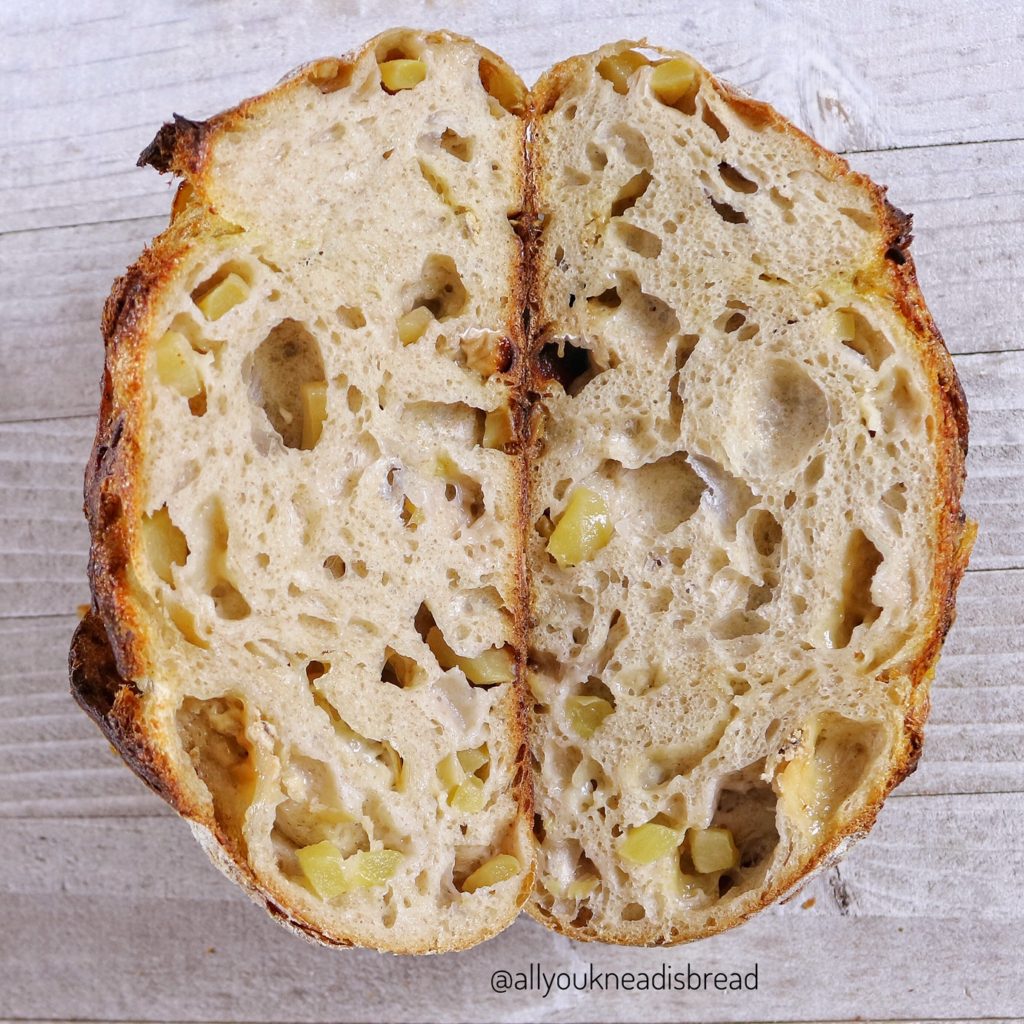
Are you drooling yet? I thought so 😊
I used 100g of gorgonzola (half packet) and 1 medium-large fuji apple. You can go for a tarter apple or a sweeter one.
I’ve tried this recipe with different water contents and the bread has always turned out very similar. The cheese fat and the water in the apple are essential to get the super soft bread. And because of those, the crust is crunchy but thin, so it’s not hard at all.
You’ll see how light and springy this bread is!

This bread is just amazing! I never recommend to eat the bread warm, but for this one? I can’t tell you to wait until it’s cooled down. Just give it 30 mins to set the crumb and go ahead! And since it has both savory and sweet, you can combine it with anything you want!
If you make this bread make sure you tag me on Instagram! I’d love to see what you made!
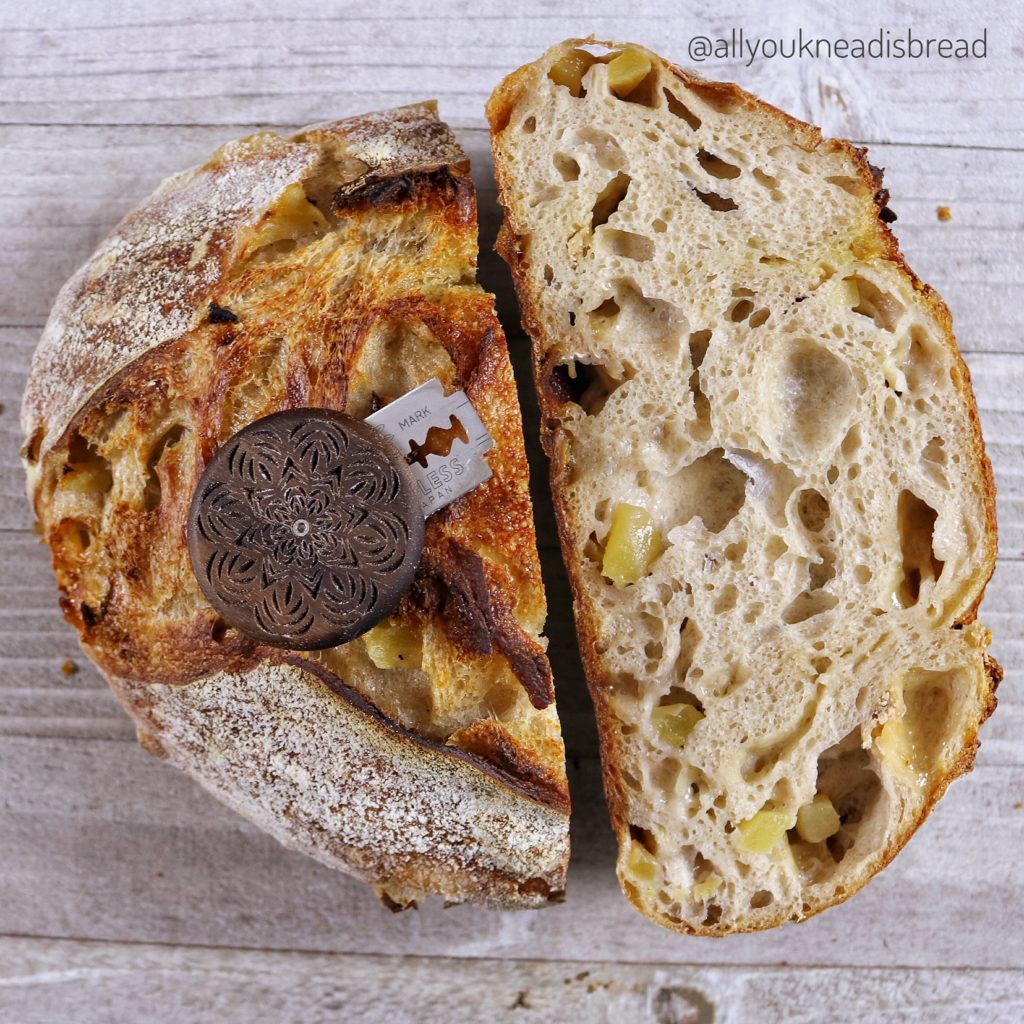

Gorgonzola & apple sourdough bread
This bread is very soft with incredibly balanced aromas
Ingredients
- 320 g bread flour
- 80 g whole wheat flour
- 320 g room temperature water
- 80 g 100% hydration starter
- 1 medium fuji apple
- 120 g gorgonzola cheese
- 7 g salt
Instructions
-
Mix flours and water (you can add less water if an 80% hydration is too much for you). Let the dough rest for up to 3h (autolysis)
-
Add the salt and mix the dough until you don’t feel salt particles. Wait 30 minutes
-
Add the starter, incorporate it very well and let the dough rest for 30-45 minutes
-
Peel and chop the apple and cut the cheese into small cubes
-
Laminate the dough: use your fingers and stretch the dough from the center towards the outside, don’t worry about the shape. Add the apple and the cheese and distribute them well. Fold the dough and shape it into a ball and place it back in the bowl. Wait for 45 mins
-
Do three sets of coil folds or stretch and folds every 45 mins (time can vary between 30-60mins). After the last set of fold, let the dough ferment until it doubles in size, the time depends on the temperature of the dough and the temperature of your kitchen (it can be anywhere from 3-8h)
-
Flour the counter well, let the dough fall from the bowl onto the counter by itself and shape it into a batard or a boule
-
Line a banneton with a clean cotton cloth and flour it generously. Place the dough into the banneton with the seam up and stitch the seam. Cover the dough with the cloth and put it in the fridge for 8-24h (If you don't have a banneton you can use a bowl).
-
Preheat your oven at 450F with a dutch oven inside (or a pizza stone or a baking tray) for at least 30-40 minutes
-
Take the dough out of the fridge and place it on a piece of parchment paper. Score the dough with a sharp knife or blade. Put it in the dutch oven and reduce the oven temperature to 425F . **See notes
-
Bake 20 mins with the lid on and another 15-25 mins without the lid or until it has browned nicely (depending on your oven the bread might be done earlier or later)
-
Cool on a cooling rack for 30 mins to let the crumb set and enjoy!
Recipe Notes
** If you don’t have a dutch oven, place another baking tray in the bottom rack while the oven it’s preheating. Add a cup of boiling water to that baking tray right after you put the bread inside and close the oven door fast. After 20 minutes remove that tray and bake the bread for another 20-25 minutes. If you use a pizza stone, be careful to not add the boiling water on it or it’ll, most likely, break.
Cheese and Cumin bread – Video

Hello friends!
Do you know when you buy an ingredient for a recipe, but you don’t have the recipe yet? That’s how this bread happened!
Strolling down the grocery store I found an English cheese and I knew I wanted to use it in a bread recipe. I could almost smell it! There are many recipes of loaves with cheese inside, breadsticks stuffed with cheese, etc. But I wanted to make something different.
In Spain, bread is always on the table and in my home, my parents always had a wedge of cheese. Every Friday evening, before dinner, my dad would slice some cheese and we’d all eat it with a piece of bread.
At that time, the local bakery started to make a new type of bread, it was called “torta de aceite”, it was a soft bread made with olive oil. The shape and texture were similar to focaccia, but without toppings and a more delicate crumb. We all loved that bread and we started to enjoy it every Friday evening with our cheese 😊
Then I thought… What if I make a similar type of bread with cheese on top? I was drooling just thinking about it.
I decided to add cumin seeds to this recipe because I also remember my parents used to buy a type of cheese with cumin seeds, and I loved that flavor combination! If you haven’t tried it yet, I encourage you to do so and see if you like it too. But if you don’t like cumin, you can skip it or change it by something you like better.
This bread has an intense aroma and is very soft, with a delicate crumb. You can use it to accompany meals, or as an appetizer, or even as a snack on a Friday evening 😊
The egg and olive oil add fat to the dough and this allows the bread to be very soft and last fresh for several days, although I doubt it’ll last too long!
So, without further ado, let’s get to the recipe!
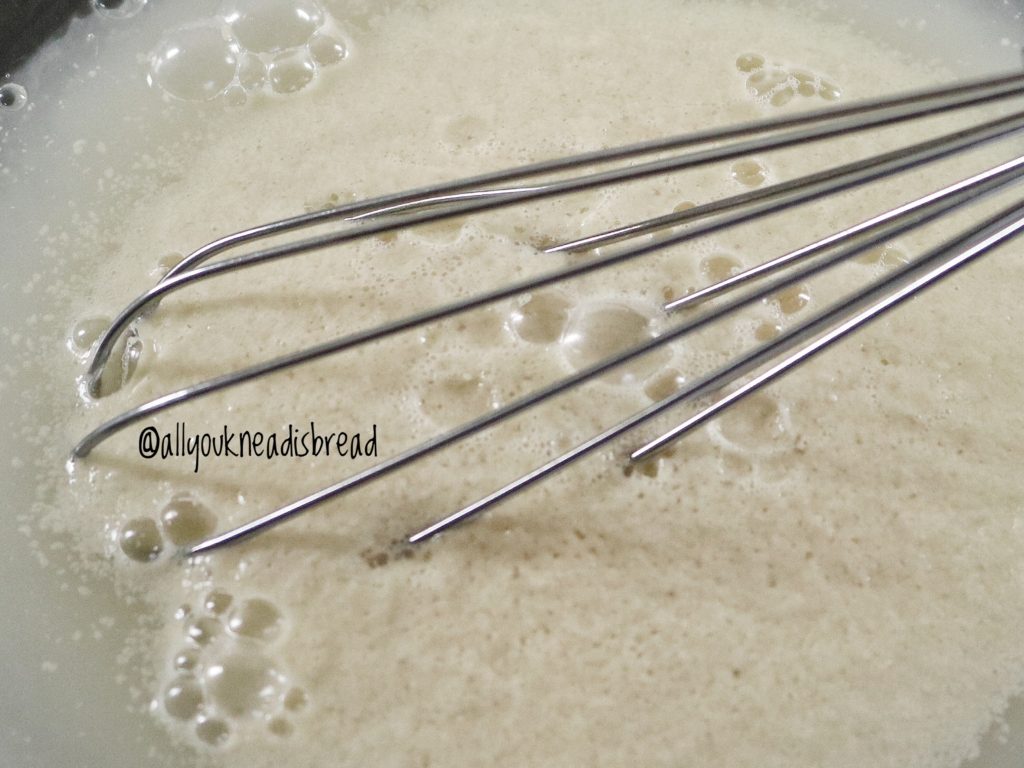
First, as always, we need to activate the yeast. In this case, I added some sugar to feed the yeast.
Then we mix in the egg and cumin seeds and combine very well.
NOTE: you can add the oil to the wet ingredients now, I prefer to add it later because I think the crumb turns out spongier. But that’s my preference. Just make sure you knead the dough well.
Now we let the dough hydrate for a few minutes before we start kneading.
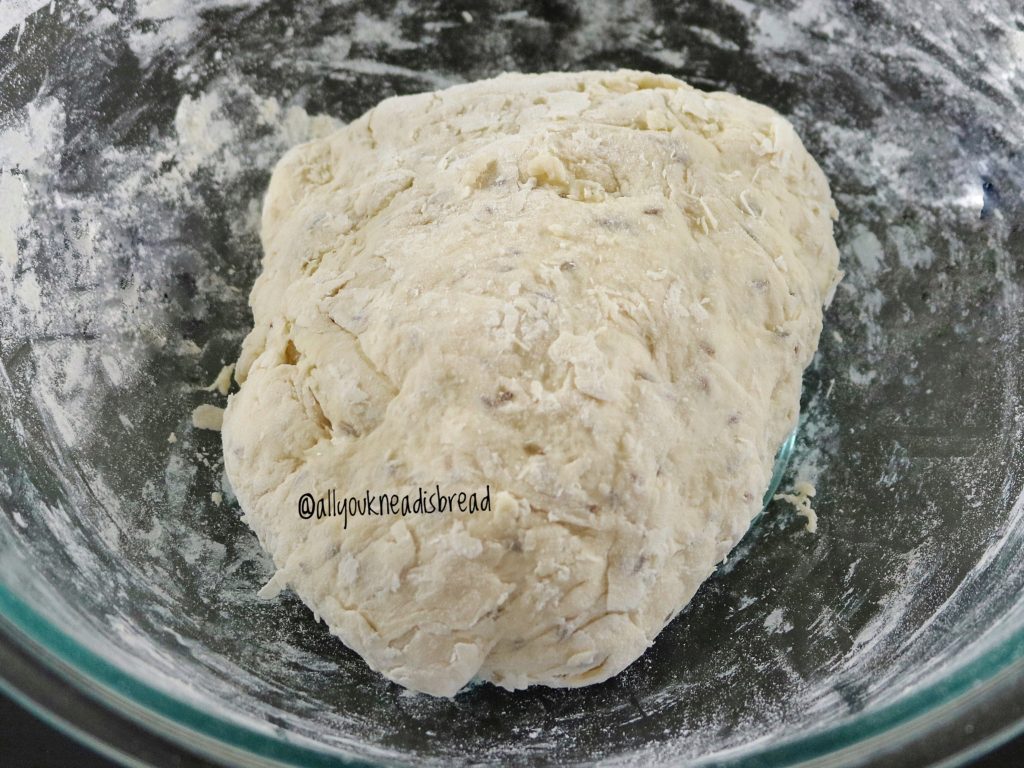
Add the oil and incorporate it very well. Then knead the dough until it’s soft, elastics, and shiny.

Let the dough rise until it has doubled or tripled in size

Deflate the dough well and let it rest 20 mins.
Shape the dough. You can shape it into a circle, a rectangle… whatever you prefer!
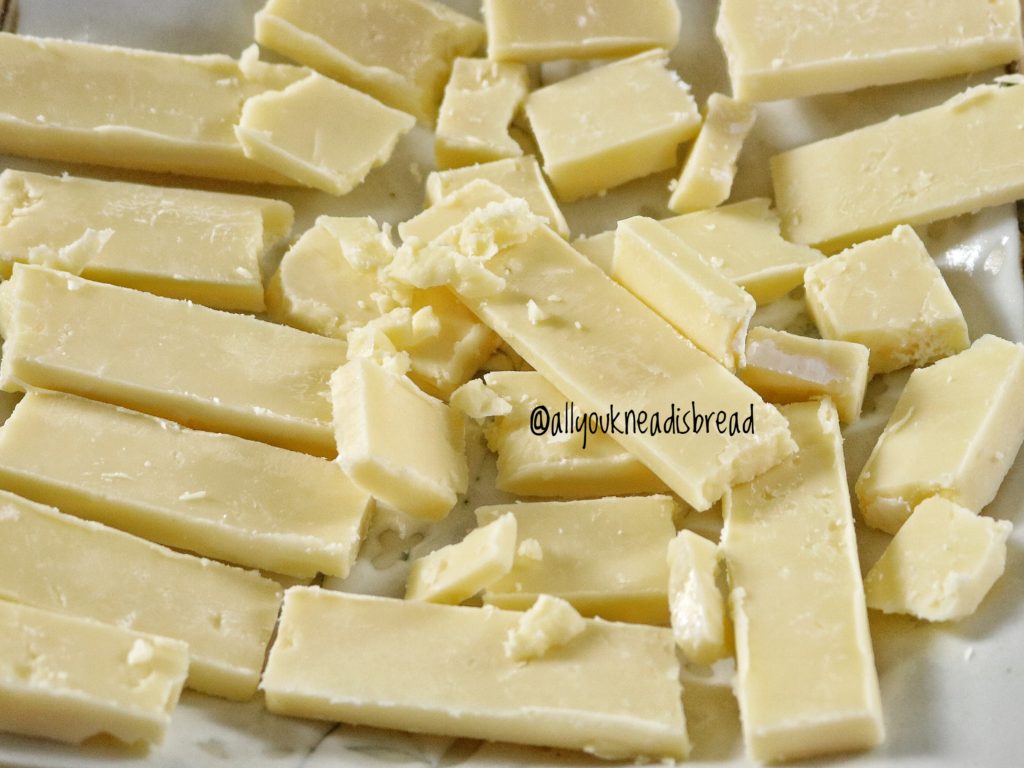
Cut the cheese and put it on top of the dough. I used an aged cheese, and that’s what I’d recommend. I wouldn’t use shredded cheese because: 1) it’ll burn and 2) it doesn’t have the strong aroma of aged cheese.
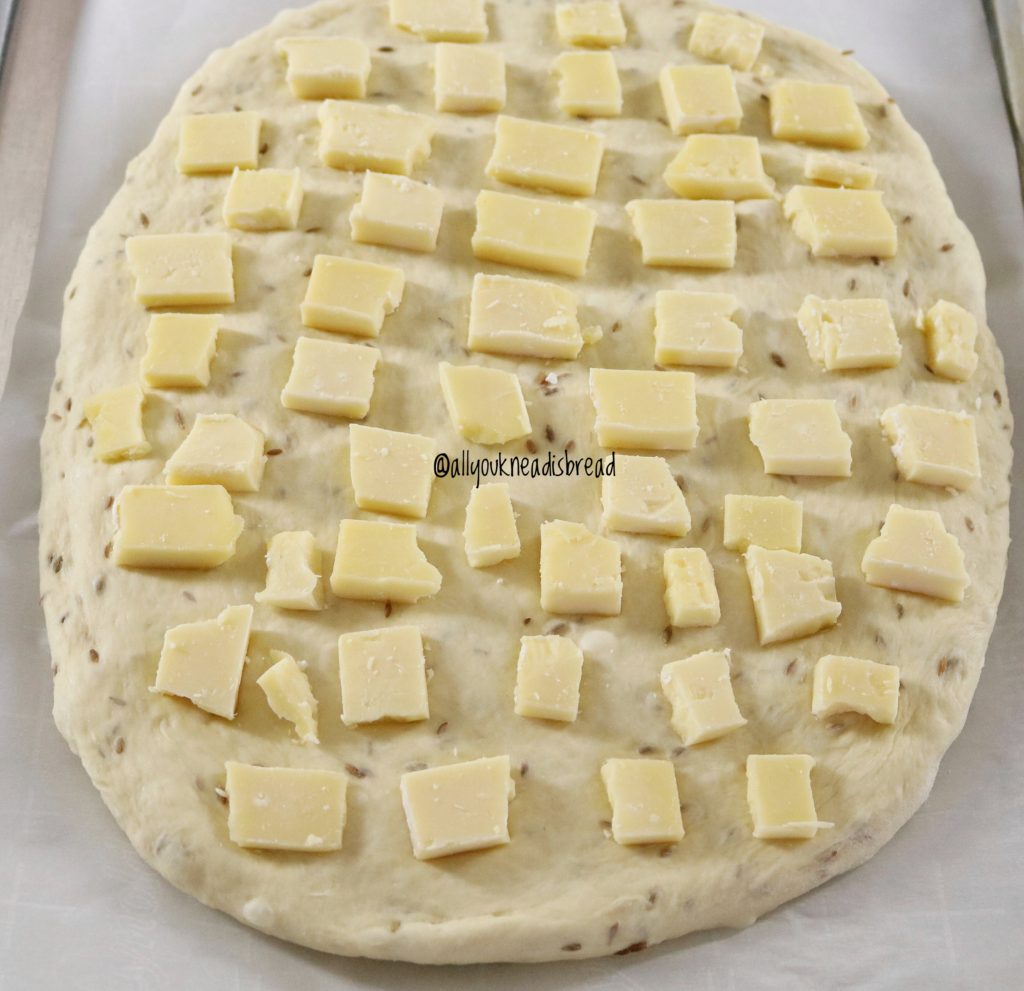
NOTE: if you prefer a flatter bread, shape it thinner and make sure you pierce large air pockets.
Cover the dough with a clean cotton cloth and preheat your oven at 360F for about 20 mins
This will be the time we’ll let the dough rise, when the oven is ready, brush the bread with egg wash and bake it for 30 mins or until it’s done and has a deep golden brown color.
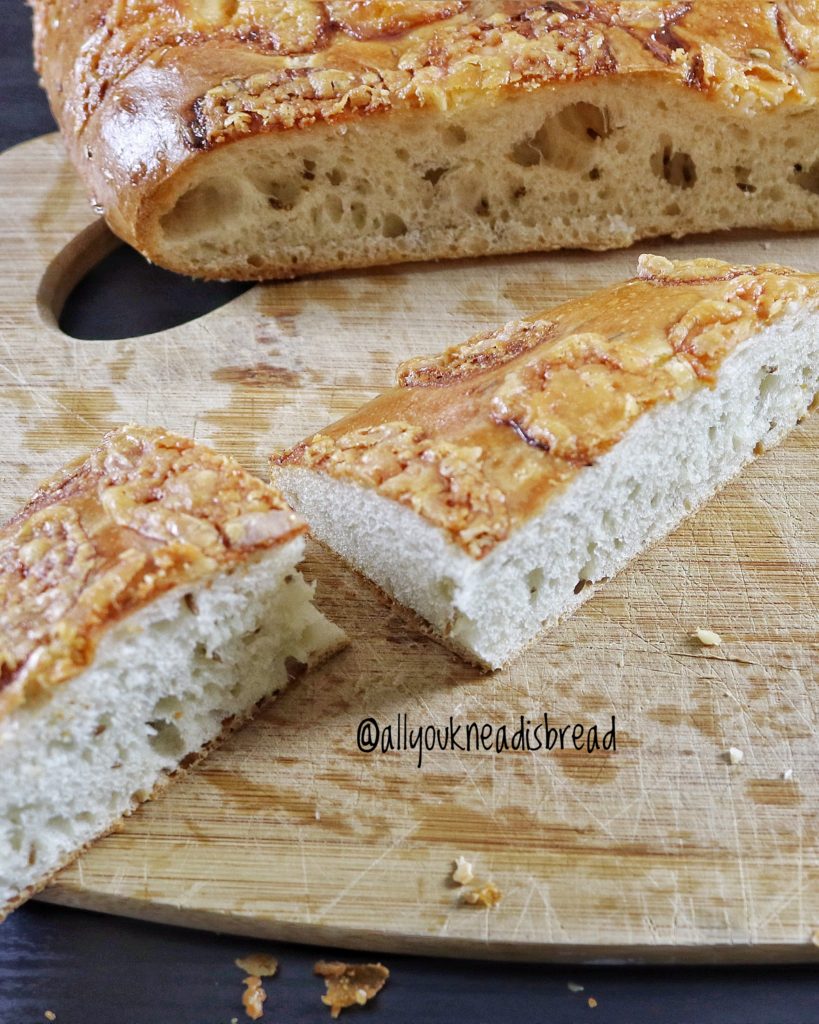
Your kitchen is going to smell heavenly!
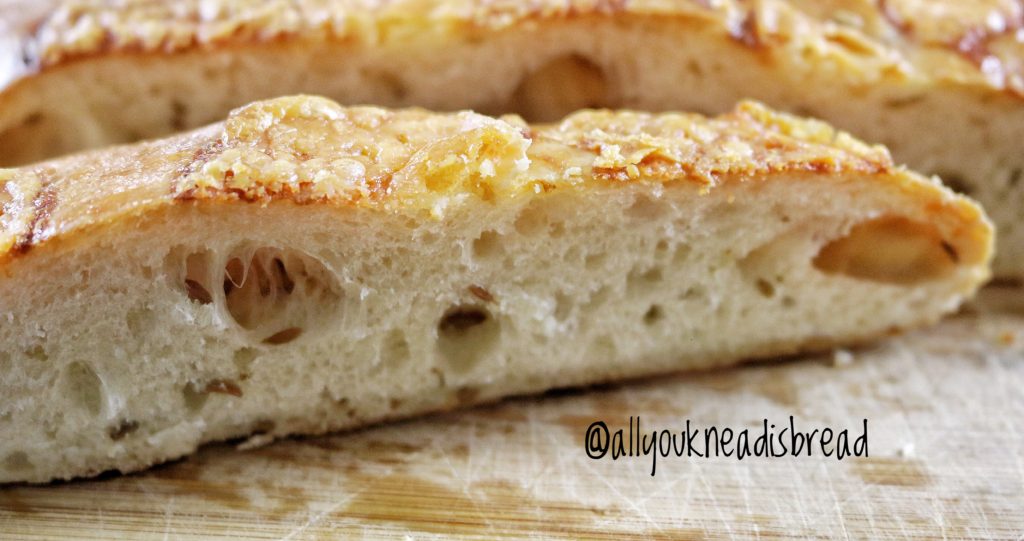
When the bread is ready let it cool down on a cooling rack… If you can!
Let me know what you think about this recipe and if you like it, thumbs up on the video and subscribe to my channel!
Happy baking!

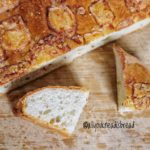
Chese and cumin bread
Ingredients
- 450 g bread flour
- 250 g water
- 5 g active dry yeast
- 1 egg L
- 1 tbsp sugar
- 7 g salt
- 40 g olive oil extra virgin for a more intense flavor
- 5 oz aged cheese
- 1 tbsp dry cumin seeds
- 1 egg for egg wash
Instructions
-
Dissolve sugar in water, add the yeast and whisk it together. Let it rest 5-10 mins
-
Add salt, egg and cumin seeds to the yeast mixture and combine well
-
Sift the flour into a bowl and add the wet ingredients
-
Combine all ingredients until you don't see dry flour particles and let it rest for 20-30 mins
-
Add the oil and incorporate
-
Knead until the dough is elastic, shiny and full of blisters and let it ferment until it doubles in size
-
Deflate the dough well and let it rest a 15 minutes before the final shape
-
Cut the cheese block into thin pieces
-
Preheat your oven ar 360 F
-
Shape the dough into a 1/2 inch oval and place the cheese bits on top
-
Let the dough ferment while the oven preheats
-
Brush with egg wash and bake for 30 mins or until it's golden brown


