
Well well well… Looks like summer is already here! One of the things I like of the crazy weather we have in NC is the summer storms. I find rain quite relaxing, the trickling sound of the water, the smell of wet soil, the sunset of a stormy day… And baking while raining? That’s a complete spa day!
I guess many of you will go on a vacation this summer, but if for some reason you won’t, I’d like to take you on a little trip without leaving your kitchen! I’d like to take you to the Caucasus region!
This region is well known for their kefir. A fermented milk drink made from kefir grains. These grains are a combination of yeasts and bacteria that you add to milk. The culture ferments overnight, and the next morning you have your fresh fermented drink! The consistency is similar to drinkable yogurt. A little bit sour because of the lactic acid bacteria. While I’m not an expert on homemade kefir, I believe you can control the sourness by controlling the fermentation temperature and times.
Kefir has gained much attention in the last years because it’s a probiotic, so it’s very healthy for your gut microbiota and digestive system. Now you can find it in almost all grocery stores!
I came to realize that almost every country and region have a bread recipe that uses local ingredients or cooking techniques, so in Eastern European countries, kefir is sometimes used to make “батон” (baton) bread. I guess the name comes from the shape of the bread.
I’ve been doing some research on this recipe, I’ve looked for blogs and videos (Thank you Google translate!) and I finally found a recipe that I like, although I’ve made a few changes.
This bread is very easy to make and it the perfect candidate to start kneading by hand. This dough is on the dry side, therefore comes together pretty fast. It’s great to try different kneading techniques and develop your own style. I think making this bread can also be an excellent activity to do with your kids, the recipe it’s simple, they can help you knead, and they won’t make a mess because the dough is not very sticky! 😉
You can eat this kefir bread with savory dishes, or jam, or just plain! And it makes wonderful French toasts too! The flavor is rich and delicate, and the kefir really gives the bread an interesting kick and aroma! The crumb is perfectly fluffy and cohesive, and the crust is not too thick, so you can use this recipe to make homemade subs! The crust will get softer after a few hours. And in my opinion, the aroma of the bread is better after it cooled down completely.

The recipe yields 3 large loaves or 4 medium loaves, so if you’re not going to eat them all you can freeze some and keep the rest in a Ziplock bag for a few days.
Let’s start with the recipe!
As always, activate the yeast in the water and let it sit for a few minutes.
Once the yeast is active, add sugar, salt, kefir and butter and give it a good whisk. Don’t worry if there are chunks of butter.
Then add 1/3 of the flour and combine everything very well until you have a thick paste. By doing this, incorporating the butter will be easier and you don’t have to melt it. Bread usually turns out better if you don’t melt the butter.

Add the paste to the rest of the flour (previously sifted) and combine all the ingredients together until there are no dry flour particles.
Let the dough rest for 20-30 minutes to allow the flour particles to hydrate. This is a pretty dry dough, since the gluten doesn’t have much moisture, it’s important to start working the dough after the gluten proteins had some time to hydrate.
Knead the dough until it’s soft and elastic. Knead it the best way you can with the technique you’re more comfortable with. The dough feels a little hard at the beginning, use the heel of your hand to apply pressure and eventually it’ll become more elastic. Be patient, it’ll take about 15 minutes to have the dough ready.

After autolysis After kneading


You shouldn’t need extra flour to knead the dough, it’s not sticky, but if you do, try not to add too much or your bread will turn out too dry.
When the dough is ready, let it ferment until it doubles in size and it’s puffy. In a warm environment it will take between 1 h and 1 h 30 mins.
After that, deflate the dough very well, we’re not looking for big alveoli in the crumb, but a bun-like crumb.
Divide the dough into 4 equal pieces (or as many as you want! It depends on how large you want the loaves). Shape them into balls and let them rest, covered, for 10 minutes. During this time the gluten strands will relax, and it’ll be easier to shape the loaves.
To shape the loaves, flatten each dough ball with your hand and with a rolling pin roll them into a rectangle as wide as you’d like the loaves. The rectangle should be about 1/3 or 1/4 of an inch (0.5-0.8 cm).

You can use some flour while you shape the loaves to avoid the dough from sticking on the counter.
Once you have the rectangle start rolling the dough from the narrowest side, tugging the ends inside of the log.


Let the loaves rest, covered, until they double in size. Before the proofing time is over, preheat your oven at 375 F (190 C).

Right before baking the loaves, make cuts through them and brush some water. This step is optional, the water will help develop the crust but if you prefer a softer crust, don’t brush it.

Bake the loaves for 25 minutes or until they are golden brown
NOTE: you might need to bake at lower temperature to make sure the loaves are fully cooked. You know your oven better!
When the loaves are ready, let them cool down on a cooling rack. I know it’s tempting but try to wait until the bread is at room temperature so the crumb finish baking and the aromas finish developing.

Enjoy!
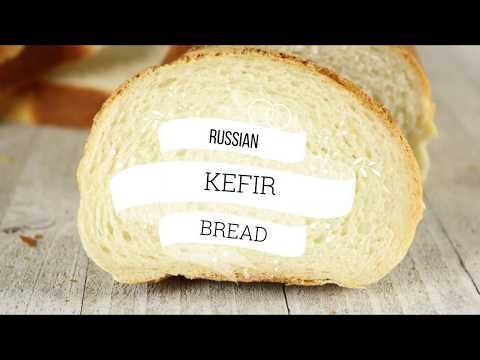

Russian Kefir Bread
A delicious and easy bread recipe
Ingredients
- 600 g bread flour sifted
- 175 g plain kefir
- 175 g water room temperature
- 6 g dry yeast
- 10 g salt
- 30 g white sugar
- 50 g unsalted butter softened
Instructions
-
Dissolve the yeast in the water and let it sit for 10 minutes
-
Add to the yeast mixture the salt, sugar, kefir, butter, and 200 g of flour and combine everything until you get a paste.
-
Add the paste to the leftover flour and incorporate all the ingredients until there are no dry flour particles. Let it sit, covered, for 20 minutes
-
Knead the dough until it's elastic and soft
-
Place the dough on a lightly oiled bowl and let it ferment, covered, until it doubles in size and it's puffy.
-
Deflate the dough and knead it for 1 or 2 minutes to make sure you get rid of big bubbles
-
Divide the dough in 4 equal pieces. Shape them into balls, cover them and let them rest for 10 minutes.
-
With a rolling pin roll the balls into a rectangle and shape the loaves.
-
Let the loaves rest, covered, until they double in size and they are puffy.
-
Make cuts on the loaves, brush them with water (optional) and bake them at 375 F for 25 minutes or until they're golden brown
Best Basic Challah
Finally! My first post!
I can’t believe it took me this long. Can you imagine that I spent most of the time deciding colors, styles, logos, etc?? It’s the first time for me to design something and let’s say that creativity is not my strength.
Anyways, here we are! Holiday time! A time where I’m sure Pinterest is on fire with people looking for recipes, décor ideas, centerpieces… When setting the table for any event, I like it to be more functional. I don’t like to have things between the people at the table that will make conversations or interactions difficult. I like to make the food be part of the ornaments.
Last week I went to a Friendsgiving dinner, and I was assigned the bread. We all came from different places around the world, many of the guests weren’t used to crusty bread ( as a Spaniard, that would’ve been my first option). So, I decided to make some soft bread. But dinner rolls seemed so not-holiday-worthy. There’s nothing wrong with dinner rolls, but I wanted something different, and tasty but not too sweet either. And I wanted edible decorations! Something to complement the table but that it’ll eventually disappear.
My solution? A nice challah!
I love challah because with simple ingredients you can make amazing things! I particularly enjoy the shaping. The 6 strand braid is my favorite, I think. It took me a bit to learn because I kept getting lost midway!
The loaf was a success! Everyone was taking pictures; some people had never heard of challah before and they were pretty impressed. And all that just because of the shape! Of course, when they actually tried the bread, they were even more impressed with the taste!
This recipe is from “The bread baker’s apprentice”, by Peter Reinhart, it’s my go-to challah recipe. I love this book, it has many different recipes, from different parts of the world. The book has great tips and in general, the ingredient lists are simple. I think it’s a great book for beginners and home bakers.
I just changed the type of flour, the original recipe uses all-purpose flour, but I like bread flour better. Enrich doughs have to be strong to be able to “lift” all the eggs, fats, and sugar. And also, I always bake with the same type of flour, and I can anticipate the amount of water I’d need or how the dough will behave.
But this is up to you really. Changing the flour won’t make the bread better or worse, just different! 😊
The original recipe also calls for vegetable oil. I chose olive oil because I love the combination it makes with eggs. I think both ingredients complement each other perfectly! You can use other shortenings, but I wouldn’t recommend butter. The reason is that it has a strong taste, and challah is all about the egg, I don’t want the butter to hinder the taste of eggs. But again, this is my opinion. You can make it the way you enjoy it most!
To make this challah you’re going to need the following ingredients:

- First, you need to activate the yeast. I like to use active dry yeast, but even when I use instant yeast, I activate it as well. Just to make sure it’s working well.
If your kitchen it’s cold, you can use lukewarm water to activate the yeast. If it’s hot, room temperature water works well. You can even add a teaspoon of sugar to the water. The yeast will feed on it, so it won’t add any extra sweetness.
Your yeast will be ready after a few minutes, and you should see some bubbles on top (maybe not as many as in my picture, I like to use a whisk to make sure the yeast dissolves completely, and that adds extra bubbles).
- While you’re waiting for the yeast, you can sift the flour, sugar, and salt into a bowl and stir it well to mix everything.
- Then add the yeast mixture to your dry ingredients
- And incorporate the eggs. You can whisk the eggs into the yeast mixture, or in a separate bowl and pour them into the flour, or like me, add them directly to your flour and yeast mixture.
Now it’s time for one of the most important steps, the autolysis step.
- Mix everything thoroughly, until you don’ see dry flour particles anymore and you have a sticky mess. If you think your dough is dry, you can add a little bit more water. Just 1 tablespoon at a time. Cover your bowl and leave it there for 20-30 minutes.
This step is important because it’ll allow the flour particles to fully hydrate before you start kneading. That means that the flour will work at full strength and the gluten network will be developed much easier.

After the autolysis step, the fun starts! Kneading time!
- Knead the dough in your most comfortable way. By hand or using a stand mixer with the hook attachment. At the beginning the dough will be sticky but don’t add more flour, keep kneading.
The dough is sticky because it has lots of eggs and sugar, So they get between the water molecules and the gluten proteins. So you must keep kneading to ensure all the gluten proteins get to link with each other and form the gluten network.
Regardless of your kneading method, eventually, you should see your dough coming together, getting more elastic, and getting some consistency.
- Now it’s time to add the oil (or any other fat or shortening).
If you’re not very used to adding the fat content midway, I’d suggest you add the oil little by little. One tablespoon at a time if you have to. Otherwise, you might get very frustrated.
Once the gluten network is halfway developed, it’s difficult to add fats, you have to keep kneading and squeezing the dough. It’ll eventually absorb the oil.
I like to squeeze the dough and turn it around and squeeze it again. I found that by doing this the dough absorbs the oil much faster. Also, trying to knead while everything is covered in oil… is not easy!
- After adding all the oil, keep kneading until the dough is not sticky anymore and the surface is covered by small blisters. At this point, the dough should pass the windowpane test. Remember to let the dough rest 5 minutes before you try to stretch it.
It took me around 20-25 minutes to get the dough ready. Your kneading time can be different, don’t worry. Your kitchen temperature, your skills, the stand mixer you use, or even the flour, play a role in the development of the dough. So don’t aim for time, but for dough consistency.
Look at the difference!

- Now you just need to put your dough in a bowl, cover it and let it ferment until it rises enough to be all puffy and about 1.5 times its original size. If your kitchen is cold, you can put the bowl in the oven with a pot with boiling water to create a warm microenvironment. Be careful not to turn the oven on!
- After the fermentation, deflate the dough and let it rest for a few minutes. Cut 6 pieces of equal weight and make small balls with each one.
You can use a little bit of flour for dusting, but try not to incorporate too much flour or your challah might end up dry.
You can shape your challah the way you like the most, a simple braid, 4 strands braid… you name it!
- Let the dough balls rest for 5 minutes. These resting times are important to let the gluten relax. 5 minutes can make a HUGE difference on your dough and it’ll be much easier to shape.
- After 5 minutes, take the first ball, flatten it with your hand, and with the help of a rolling pin, roll it into a 25 cm long oval (10 in approx) and 0.5 cm thick (1/4 in). Now, with the help of your hands, and starting on the widest part, roll it back to form a log. Repeat with each ball.

- Once the logs are ready, you just need to stretch them and make the strands. They should be about 50 cm (20 in) long. Start with the first log you made, since that one should’ve had more time to rest.
If at any point you feel that the strands keep getting back to their original shape, let them rest and come back a few minutes later. Try to make the strands in a way that is thicker in the middle and thinner on the ends. This way, the challah will have a beautiful shape, bigger in the middle and thinner on the ends.
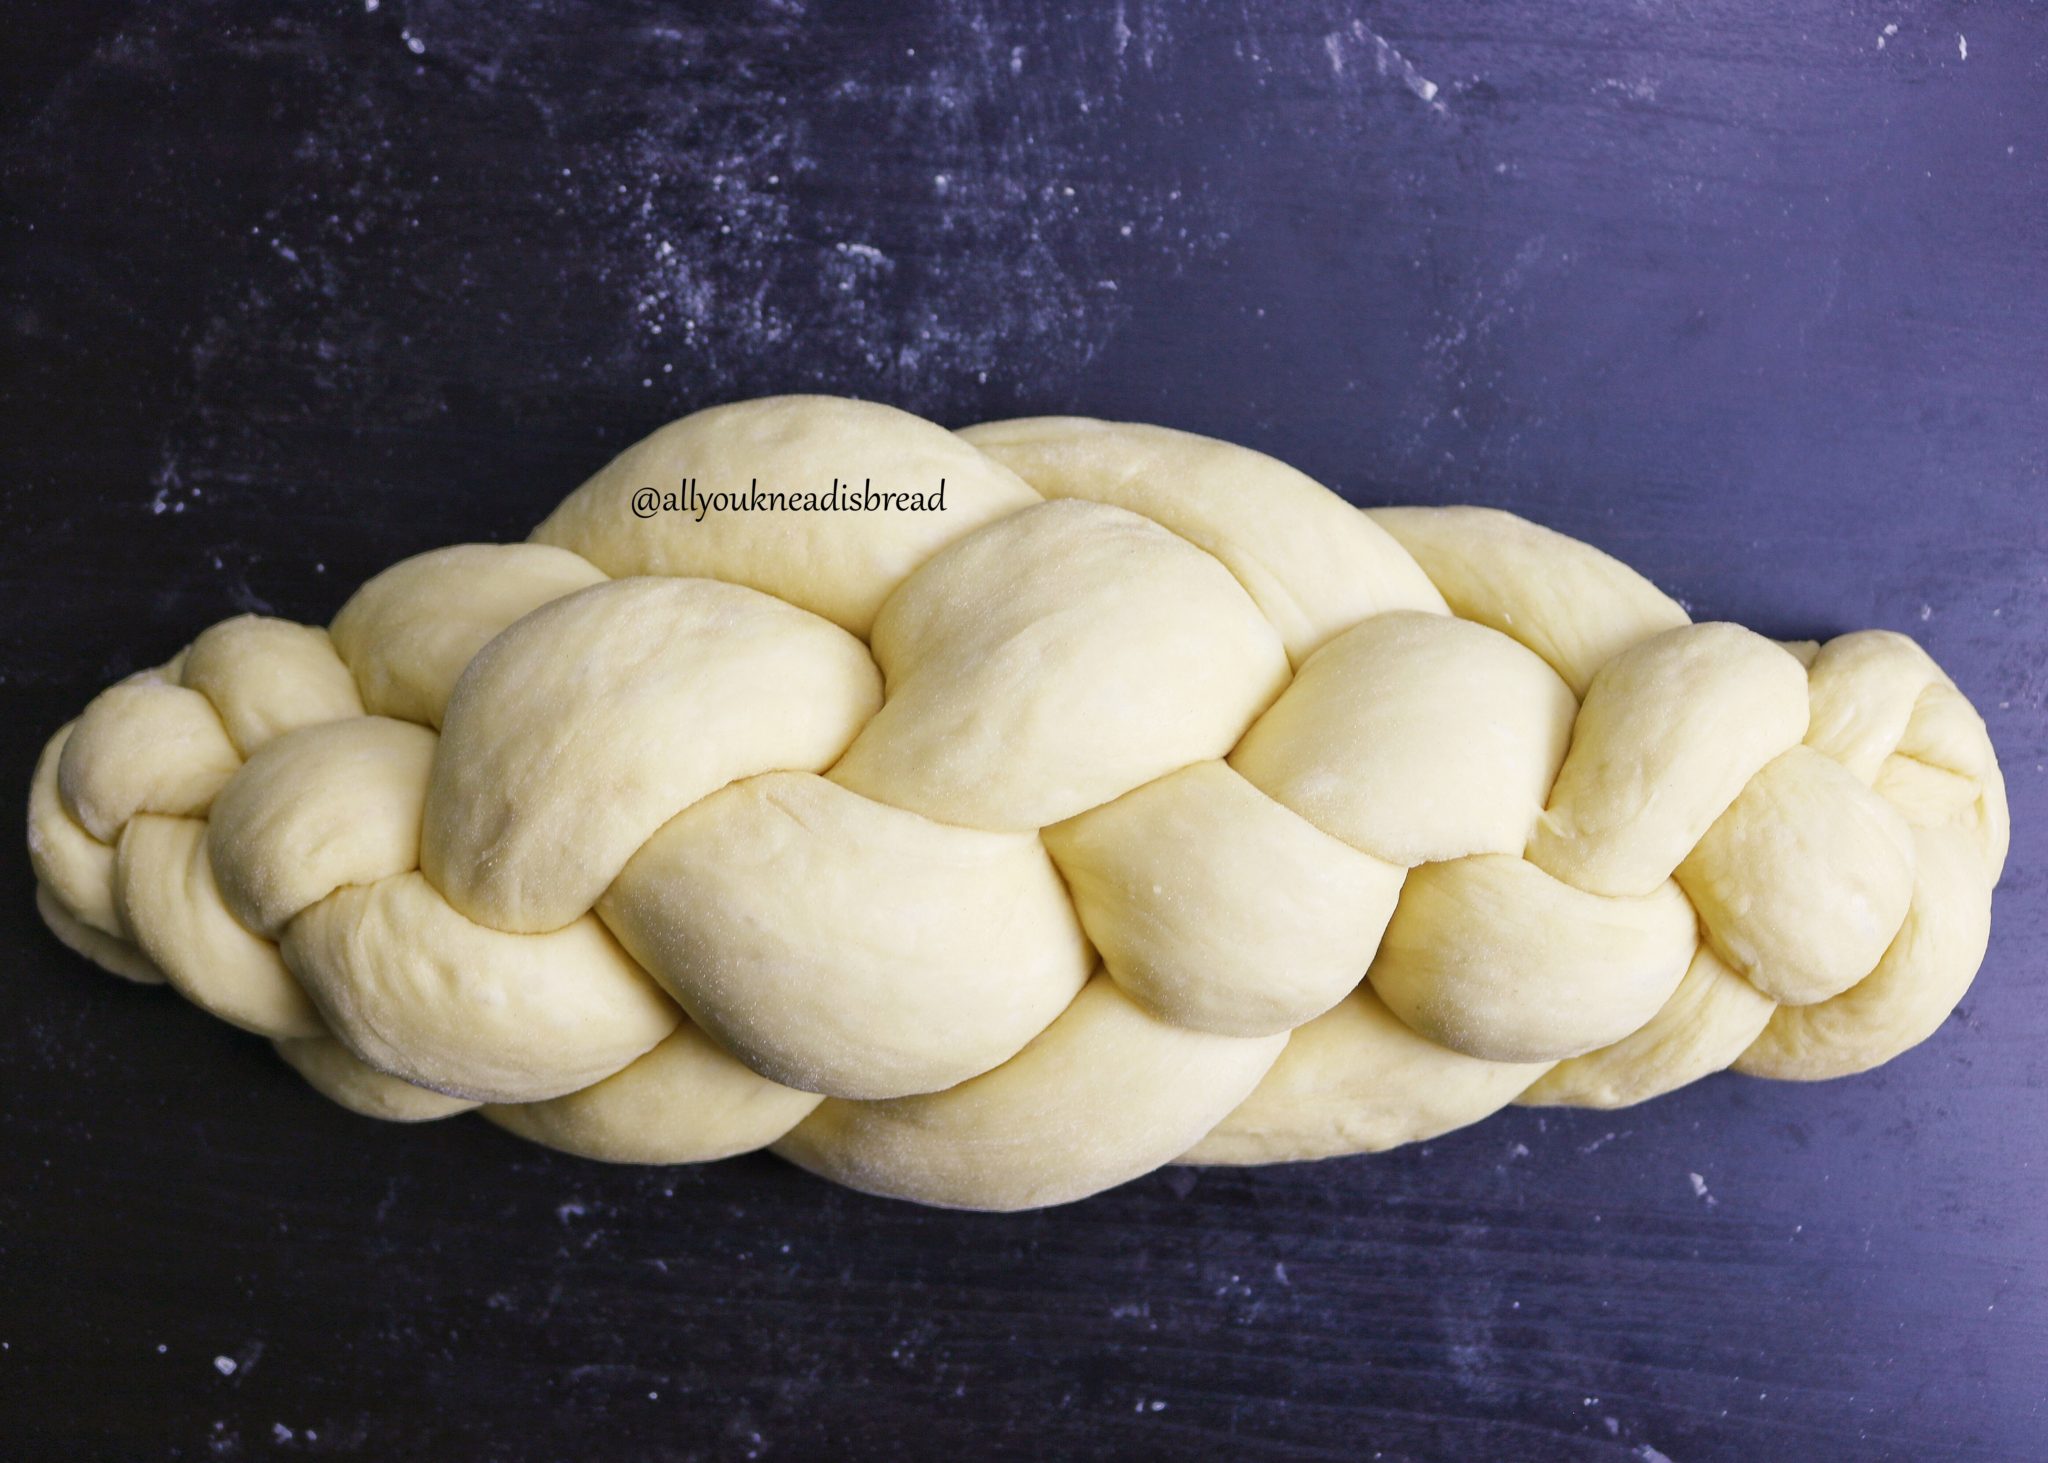
- Time to braid the challah! I did not include a tutorial on the braiding part because I think it’s easier to understand if you see it in a video, rather than if you read it.
To avoid your challah from having a weird oven spring (meaning: end up with a terrible shape), try not to braid it too tight so you leave some room for the strands to rise.
- Put the challah on a baking tray and cover it with lightly oiled plastic wrap.
If you like a crusty challah, you can brush now once with the leftover egg whites, and a second time right before going into the oven. If you prefer it softer, just brush it once before going into the oven.
- Let the challah rise again until it’s puffy. It doesn’t have to double in size.
- Preheat your oven at 350 F (175 C)
- Once the challah has risen enough, put it in the oven and bake for about 20-25 minutes. After that time, turn the baking tray 180 degrees, so it gets to bake homogeneously.
If you think the challah is browning too fast, you can put aluminum foil on top and reduce the heat to 325 F (165 C).
Depending on your oven, you might need a bit more time, it’s okay. Just make sure that the inside it’s completely cooked.
And here it is!
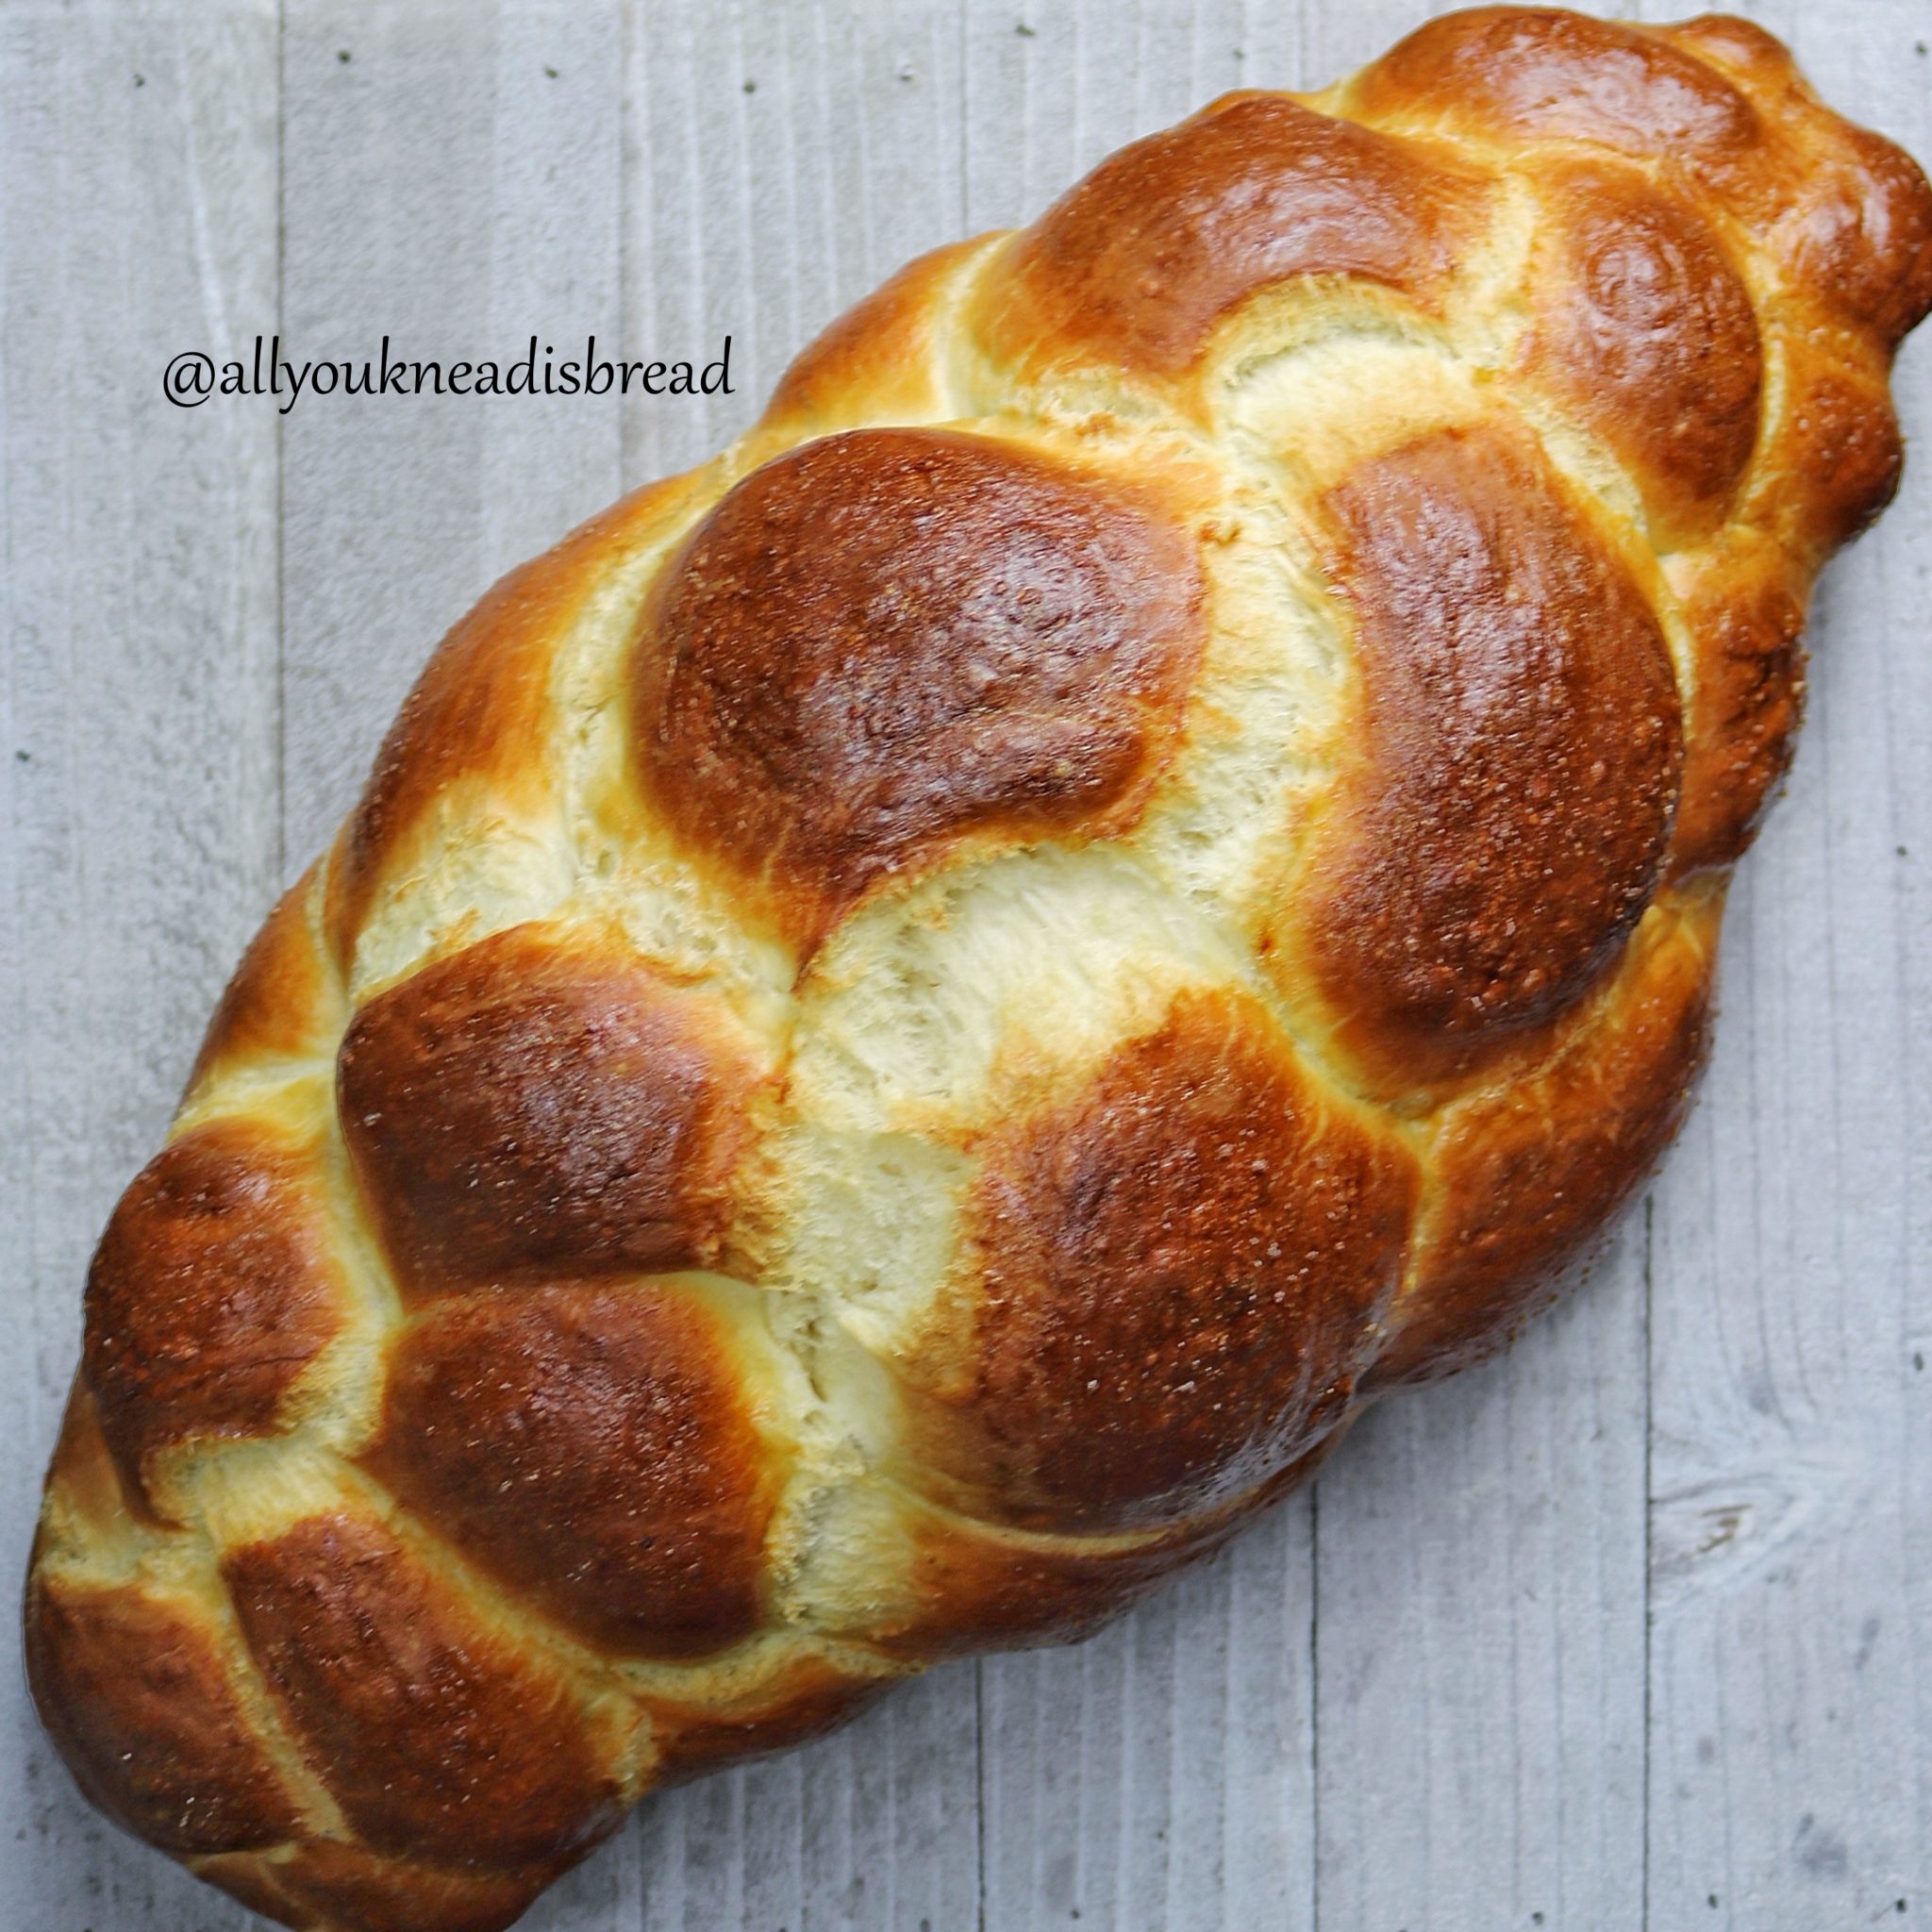
I’m sorry I cannot show you how the crumb looked, but I can tell you it was awesome! Very soft, cohesive, and beautifully yellow!
I hope you enjoy the recipe. Below you can find a printable version with a detailed step-by-step.

Best Basic Challah
Follow this recipe for a foolproof challah.
Ingredients
- 510 g bread flour (mine has 12.7% protein content)
- 30 g sugar
- 7 g salt *
- 4 g active dry yeast
- 30 g olive oil
- 2 large eggs
- 2 large egg yolks
- 215 ml water **
- 2 egg whites
Instructions
-
Add the yeast to the water and mix well. I like to use a wire whisk to make sure there are no lumps. Let it sit 5 mins to activate.
-
While the yeast is activating. Sift the flour into a bowl and add the salt and the sugar. Mix well with a wire whisk.
-
Once the yeast is active (you should see some bubble on top) add it to the flour mixture
-
Add the eggs and the yolks
-
Mix everything very well until you don’t see dry flour particles. If the dough is not cohesive, you might need to add a little bit more water. Do it half tbsp at a time. You don’t want to add too much water.
-
Let the dough rest for 20 minutes for a short autolysis. You can skip this step if you don’t have time, but I strongly recommend it since it’ll make your life easier when you have to knead the dough.
-
Start kneading the dough until it gets some consistency and elasticity.
-
Add the oil little by little until the dough absorbs it all.
-
Keep kneading until the dough is no longer sticky and you see small blisters covering the surface. It should pass the windowpane test.
-
Once the dough is ready, shape it into a ball. Lightly oil a bowl and place the dough inside. Cover the bowl and let the dough ferment for 1h approx. It doesn’t have to duplicate the size.
-
After 1h, deflate the dough, shape it again into a ball and let it ferment again until it’s about 1.5 times in size or until it’s puffy but not over fermented.
-
Remove the dough from the bowl, deflate it and let it rest 5 mins.
-
Divide the dough into 6 equal parts (if you’re doing a 6-strand challah)
-
Shape each part into a ball, cover them with plastic wrap and let them rest 5 mins.
-
Roll each ball into a 50 cm (20 in) log. Start making short logs and let them rest before rolling them to the final length. It’ll give the gluten time to rest and it’ll be easier for you.
-
Shape your Challah the way you’d like, line a baking sheet with parchment paper and place the Challah there.
-
Brush the Challah with the egg whites wash, cover it with lightly oiled plastic wrap and let it rise until it's puffy.
-
Preheat your oven at 350 F (175 C).
-
Once the Challah is ready, carefully remove the plastic wrap and brush again with the egg whites.
-
Bake in the middle rack for about 20-25 minutes and turn the baking sheet 180 degrees. Bake for another 20mins or until it’s golden brown (we turn the baking sheet halfway to ensure an even baking)
Recipe Notes
* You can omit the salt when you mix the dry ingredients and add it after the autolysis.
** You might need to adjust the water. The range should be anywhere between 200-250 ml.
Happy baking!
