
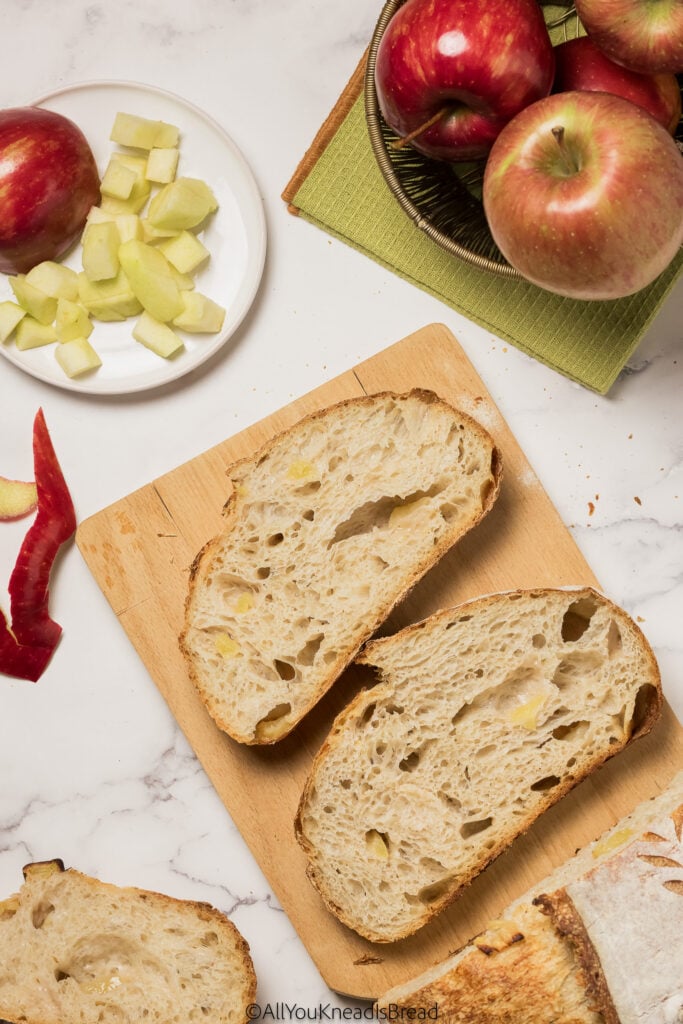
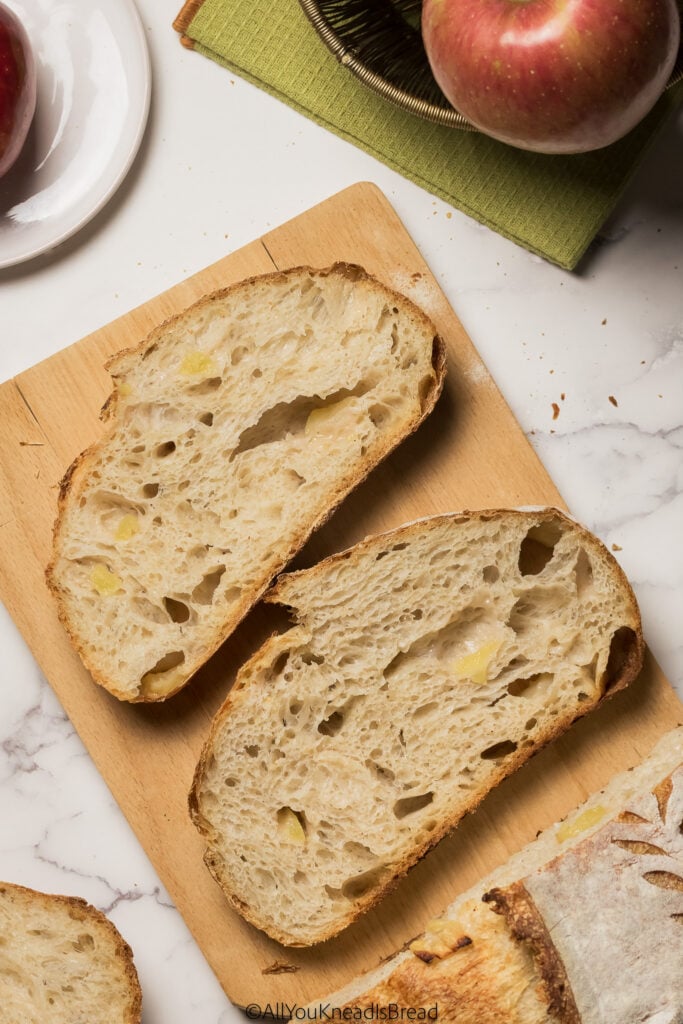
It’s apple season! Which means apple sourdough bread is going to be on rotation! There is nothing like the aroma of freshly baked apple sourdough filling your kitchen. If you’re looking for a fall sourdough recipe, this is it! It combines the deep aromas of sourdough with the fruitiness of apples to create a loaf with a soft, pillowy crumb and little bites of apple throughout.
This sourdough bread is also very versatile. Enjoy it with almond butter, cheese, some fun butter, or on its own. No matter how you serve it, you really can’t go wrong.
Why you should add apples to your sourdough bread
Adding apples to sourdough bread is one of the easiest ways to bring natural sweetness, moisture, and a nice fall twist into your loaf. I have a recipe for apple and cheese sourdough, and it’s a delicious bread, but it leans more toward the savory & umami side. This time I wanted a bread that truly celebrated the apple itself. This apple sourdough bread is exactly what I was looking for.
Apples complement sourdough bread
Apples bring more than flavor to your sourdough; they’re also packed with nutrition. They contain natural sugars (mainly fructose) and are rich in sorbitol. Sorbitol is a naturally occurring sugar alcohol that is less sweet than other sugars and has a smaller impact on blood sugar levels (if this is something you are interested in).
Beyond nutrition, apple sugars are actually a great food source for your sourdough. In fact, many bakers (myself included) use apples to kick-start a sourdough starter or pasta madre!
Choosing the right apples for sourdough bread
Not all apples behave the same, so choosing the right one can make a big difference in the outcome of this apple sourdough bread. And that outcome is defined by you. Do you want to bite into a firmer piece of apple, or do you prefer something softer that melts in your mouth? Do you want something on the tart side or something sweeter?
If you’re looking for firm and slightly tart apples Granny Smith or Honeycrisp might be your choice; if you want sweet and firm, then maybe Cosmic Crisp works better. If you want something sweet and floral, then Fujis or Galas can be a better choice for you. And if you are lucky to have access to other types of apples, please share your results! I would love to learn!
Personally, I like Honeycrisp and Fuji apples for sourdough bread. I leave the Granny Smiths for my pies, and the Cosmic Crisp ones for my afternoon snacks!.
Preparing the apples for sourdough bread
For bread, I prefer to peel my apples; the skin and flesh have very different textures, and I don’t like how the skin feels when you bite into it. But if you prefer to keep the skin on, you can.
The next step is to cut the apples. I think these are the best three options for sourdough:
- Grated apples: this way, you will incorporate moisture more evenly throughout the loaf, and your bread will be sweeter on every bite. If you decide to grate your apples, wait until it’s time to add them to the dough, or the flesh will brown very fast. I would also advise you to reduce the water a bit; grated apples will release liquid.
- Diced into cubes: if you’re looking to get a full bite of apple in your toast, this is the best option. As the bread bakes, the apple chunks will bake as well. If you go for a firmer apple, they will hold their shape (maybe shrink a bit as they lose moisture) and all the flavor.
- Sautéed or roasted: If you’re feeling fancy and creative, cooking the apples beforehand can be a great alternative. Cooking the apples can deepen their flavor; they can get caramelized from all those natural sugars and give your loaf an amazing aroma! Plus, you can also prepare them the day before and save some time on baking day!
For this recipe, I went with diced cubes. If you checked my blueberry sourdough bread recipe, you know how I love to feel the fruit and get a burst of flavor in every bite!
How to enhance the flavor of this apple sourdough bread
Apples pair beautifully with warm spices. Things like cinnamon, nutmeg, or cardamom can bring out the fruit aromas. You can also complement the textures by adding a bit of crunch with some nuts. If you have time, you can caramelize your favorite nuts before adding them to the dough.
Of course, we can’t forget that one of the major ways to change the aromas in a loaf of bread is by using different flour blends. As a rule of thumb, try to keep non-wheat flour or low-gluten flour below 20%. Usually, 20% is the threshold where you will start noticing your dough becoming weaker, and your loaves becoming denser.
Over 20% of low-gluten flours will definitely have an impact on your dough performance. But if you use whole wheat or rye, even 10% can deepen the aromas of your loaf. You can let your creativity fly and try whatever flours you have access to!.
Just a side note: whole barley and whole oat flour might affect your dough at lower ratios because they’re rich in beta-glucan, a soluble fiber that, while very, very healthy, is also very, very detrimental to gluten. I wouldn’t go above 5-7%.
If you would like to play with flour blends but you don’t know where to start, I have a COMPLETE flour guide plus a cheat sheet with all you need to know to bake whatever you want, from cookies to cakes, or breads.
You can grab the cheat sheet here!
Best tools to prepare apples for baking
Over the years, I’ve learned that some tools can be surprisingly handy! Even though I don’t use them every time, they make preparing apples much easier and faster, and I procrastinate a lot less.
Apple peeler 1: You’ll use this for more than just apples- potatoes, carrots, zucchinis, you name it. It’s inexpensive and practical. Just make sure the one you buy is ergonomic and comfortable for you; otherwise, you might end up with hand cramps.
Apple peeler 2: This one is super convenient and quick, but it also takes a bit more space and is a bit more of an investment.
Apple corer 1: Simple, compact, and affordable. The only drawback is that if you don’t line it up perfectly with the core, you might leave some seeds behind.
Apple corer 2: This style removes the core and slices the apple at the same time. Same drawback as the previous one: if you miss the exact core alignment, you may have to clean up a bit.
3-in-1 Apple corer, peeler & slicer: This tool takes a little setup, but if you process a lot of apples at least once a year, it’s a must-have in my opinion! My son loves applesauce, and I make big batches. Peeling and coring several pounds of apples used to take a long time, but now I’m done in under 30 minutes. It peels, cores, and slices all at once! The only downside is that sometimes the core is tricky to remove, but even then, the process is still fast. And if you’re making apple pie, this tool is fantastic; the slices are all the same thickness, perfect for layering or making pretty designs.
Best hydration for your apple sourdough bread
This is going to depend on how you’re adding the apple to your bread. Grated apples will release a lot more moisture than cubed chunks, and you might end up with a much slacker dough than anticipated, while diced apples will probably release the water as they bake.
Pre-cooked apples are a bit different. It will depend on how long you cooked the apples, if you added sugar or salt while they cooked, etc. So, when in doubt, be conservative and start your loaf with the lesser amount of water in the recipe. I think a 70% hydration is a great start, but feel free to reduce it to 65% if you have weaker flours or increase it as needed if you have very strong flours or you’re using whole grains, you know, cereal bran loves water!
Storing and serving your apple sourdough bread
The moisture in the apples might keep the bread fresh a bit longer and even delay staling, but be careful because in warm environments the apple chunks provide the perfect place for bacteria and mold to grow, so don’t keep the bread too long at room temperature if your kitchen is on the warm side. I don’t think this bread will last long enough to worry about these things, but just in case!
You can use paper bags, fabric bread bags, or whatever you use to store your bread.
Best way to enjoy apple sourdough bread
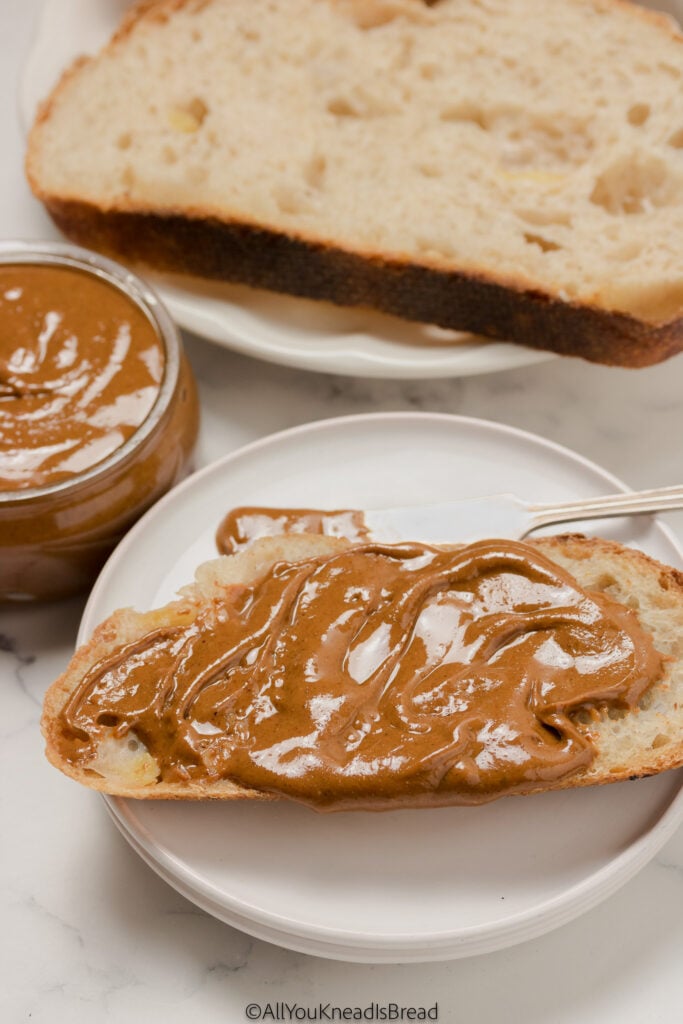
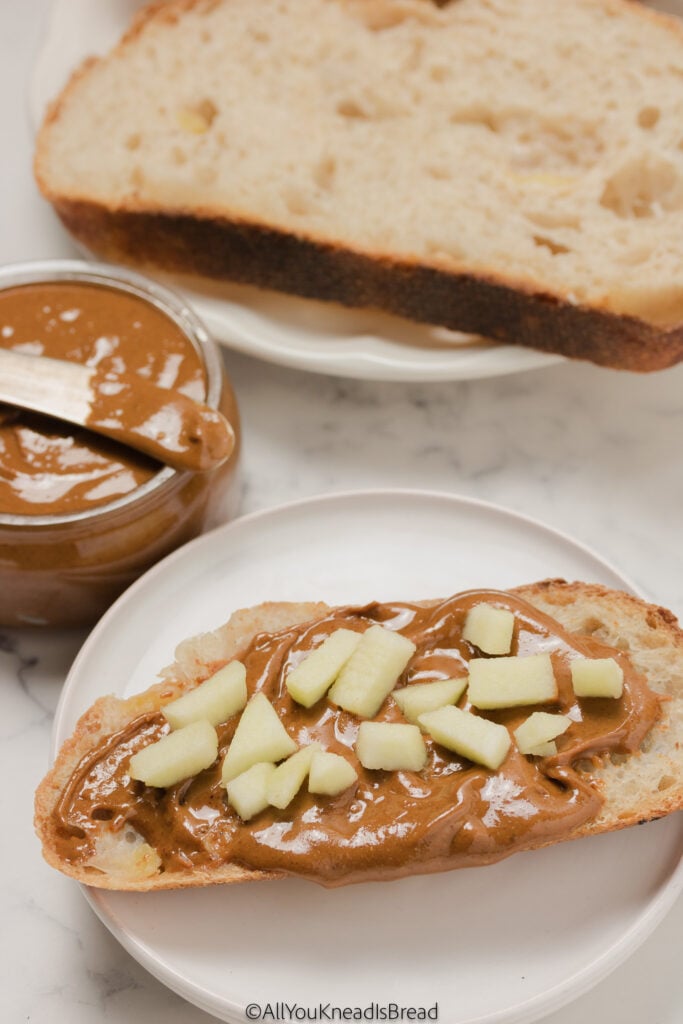
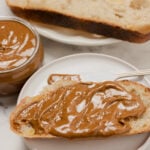
This bread pairs beautifully with sharp cheeses or nut butters. I enjoy it the most with homemade almond or cashew butter.
If you like mixing savory & sweet, a toast of this apple sourdough with goat cheese and a drizzle of honey is just exquisite!
A grilled cheese sandwich with this bread is also amazing!
How to use apple peels
We all know that the most nutritious part of the apple is the peel. And I would be doing you a disservice if I didn’t give you a way to use all the apple peels from all the apple sourdough breads you’re going to make.
The best way to preserve and use apple peels is by drying and grinding them. If you have a dehydrator or an air fryer with a dehydration function, you can easily dry the skins. If not, try using your oven at a low temperature (100–120°F) or even drying them in the sun using a rattan tray or something that allows airflow.
Once the peels are completely dry, blitz them in a coffee grinder or food processor until they turn into a fine powder. Then you can add this apple fiber boost to breads, cakes, pancakes, smoothies, oatmeal, or even soups; it’s a simple way to cut down on waste and eat all those healthy compounds that make apples so nutritious!
For more recipes, baking tips, and scientific insights into bread making, subscribe to my blog and stay updated with the latest in bread baking!
If you make any of my recipes let me know what you think! As always you can find me on Instagram, Pinterest, and Facebook. I also have a few videos up on my YouTube channel.
(This post contains affiliate links, if you purchase something from these links I will make a small commission that helps me run this blog, but you will not be charged any extra money 😉 )
Apple Sourdough
Ingredients
- 90 g sourdough starter at peak
- 450 g bread flour
- 325 g water 315-335g depending on your flour
- 7 g salt
- 1 medium-large apple diced into 1cm cubes (Honeycrisp or Fuji recommended)
Instructions
-
Combine the starter, flour, and water until no dry bits remain. Let it rest for 20-30 minutes to allow flour time to fully hydrate.
-
Add the salt and knead briefly, or work through a few sets of stretch and folds, until the dough feels a bit elastic
-
Once your dough is elastic, gently fold in the diced apple, distributing it evenly through the dough.
-
Continue stretch and folds, or slap and folds, every 30-60 minutes until the dough is noticeably strong and elastic.
-
Let the dough bulk ferment until puffy and airy (it doesn’t need to fully double in size)
-
Preshape the dough and let it rest for 30-60 minutes before final shaping.
-
Shape the dough and place it seam-side up in your banneton. If the seam doesn’t feel fully sealed, let it rest another 20 minutes, then stitch it closed.
-
Cold retard for up to 24 hours *See notes
-
Preheat your oven to 450°F with your Dutch oven or baking stone inside.
-
Straight from the fridge, score the dough and load it into the hot oven with steam. Bake covered for 15-20 minutes; the longer it stays covered, the thinner your crust will be.
-
Remove the lid and continue baking uncovered until deeply golden with an internal temperature of at least 96°C/205°F. (Usually another 20-25 mins)
Recipe Notes
* If your bulk fermentation ran short or your kitchen is on the cooler side, leave the shaped dough out at room temperature for a couple of extra hours before refrigerating. If your kitchen is warm, go straight to the fridge.
** If you are using a Dutch oven, a couple of ice cubes work great to create some steam. Don’t add ice to a hot stone, or it will probably crack.